![]()
|
|
|
From the original Idea by JimFackert
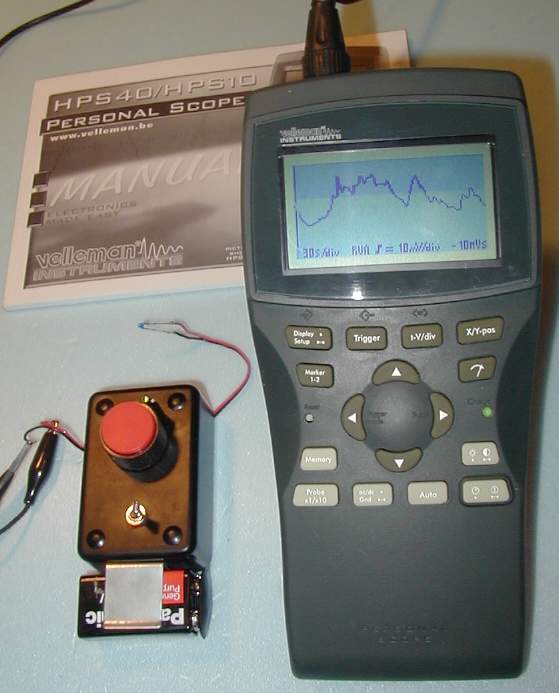 | 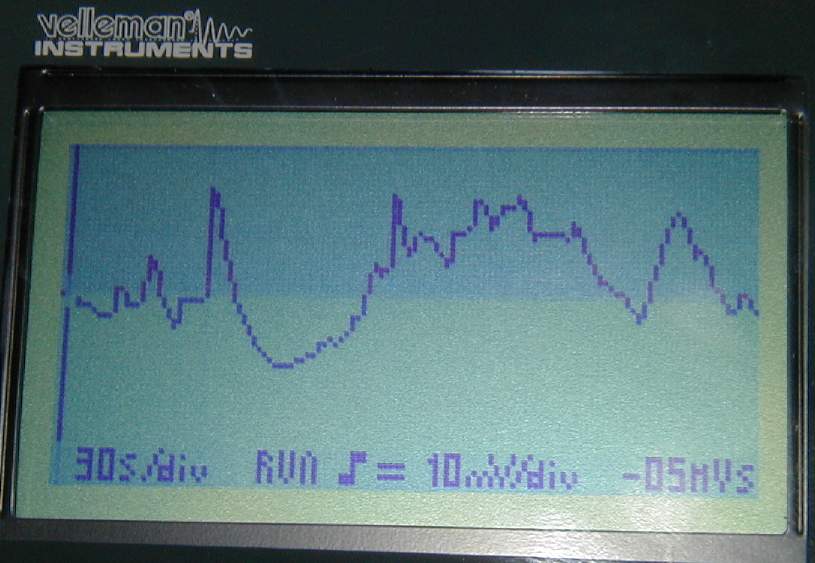 | 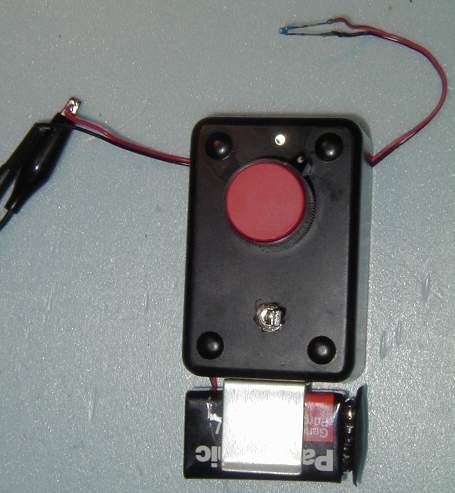 |
Photo Thumbnails of Velleman HPS-10 Handheld Oscilloscope in "Rollmode" to produce a continuous temperature trace. Click for moreinfo (pdf's) on the HPS-10 , or here for the user'smanual.
For use as Temperature Chart Recorder for picking Thermals. Theplot runs for from left (old data) to right (newest data). Afterfilling up the screen, the plot "rolls" from right to left.
The scope's screen is 64 x 128 pixels. With the screen optionshown above there are about 56 useful pixels in the verticalaxis.
When set to the 30 seconds/division setting, the screen displays 6minutes & 12 seconds of data. Horizontal rate of 1 pixel per 3seconds.
When set to the 1 minute/division setting, the screen displays 12minutes 24 seconds of data. Horizontal rate of 1 pixel per 6seconds.
The plots shown above are not from thermals, they were from manualwarming/non-warming of the thermistor to generate plots to takephotos of.
The scope runs off of five AA Batteries. Alkaline cells will runit for about 20 hours.
| Thermistor Circuit for Velleman Oscilloscope: A Wheatstone Bridge type circuit is used by the thermistor and other components to create a zero or near-zero voltage output for the Oscilloscope to read in DC mode. The circuit produces plenty of sensitivity when used in combination with the scope. Tentative results indicate that when the scope is set to a resolution of 5 millivolts, the screen plots a temperature range of about 2 to 2.5 degrees. That is a pixel resolution of about 28 pixels/degree to 22 pixels/degree. If the scope is set to 10 millivolts, then range plotted would be around 4 to 5 degrees, with pixel resolution of about 14 pixels/degree to 11 pixels/degree. The project is still a work in progress. No field or flight testing yet. Among other things, I need to get the right kind of BNC connector for building a cable to hook between the Scope and the Thermistor Circuit box, rather than use the test leads. Also long permanent leads for the thermistor. And to rig up a "holster" for the scope to fit into, the holster itself to be mounted to a thermal pole. It will use a typical sunshade for the thermistor, a 3" diameter disc of foam with chrome trim monokote on the top and sides of the foam disc to reflect sunlight (The photo of the thermistor circuit black box shows a bare thermistor on very short leads as soldered up for bench testing). |
|
| NARAM-46 update: The scope was used for the first time to pick air for models, at NARAM-46. It worked out well, using the 30 sec/div setting (6 plus minutes plot, with one pixel per 3 second updates). Testing at home had indicated that direct sunlight could make the screen overheat and go dark, so a sunshade assembly was made out of .04" styrene plastic to provide some shade. The Oscilloscope itself was held inside of a big ziploc bag, allowing access to the pushbuttons. The screen was not too easy to read inside of the bag, so a rectangular hole (at screen level) was cut into the bag and a piece of flat Lexan was taped to the bag along the edges of the hole. It was then very readable, though over time (and the high humidity) the tape let go. A more permanent solution is needed. A holster type case is made for the scope, I wish I'd bought it when I got the scope but the shipping cost is a bit prohibitive to do it now. The thermal pole the scope mounted to was itself attached to a special post that was taped to the pole using vinyl tape. The post has a bracket at 90 degrees, near the bottom, allowing a person to "step" onto it to push the post into the ground by foot. So, the pole was very easy to move from one pad area to another, rather than needing to use a hammer to pound the post into the ground each time it was moved. I found the post at Target for $12 in the garden department, with a decorative "hook" at the top. The upper part with the hook was cut off, leaving the post about 3.5 feet long. And the blunt bottom end was sharpened into a two-sided wedge to make it easier to push into the ground. |  (photo by Chris Taylor) |
|
|
|